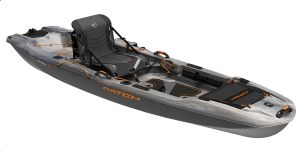
Building a fishing kayak offers customization tailored to your specific needs. Begin by choosing a durable kayak suited for fishing. Outfitting your kayak with rod holders, tackle storage, and comfortable seating can enhance your fishing experience. Ensure your kayak has enough stability and space for your gear.
Consider adding a fish finder and anchor system for convenience. Customizing your kayak allows you to create the perfect setup for your fishing adventures. Whether you’re a seasoned angler or a beginner, a well-equipped fishing kayak can make your time on the water more productive and enjoyable.
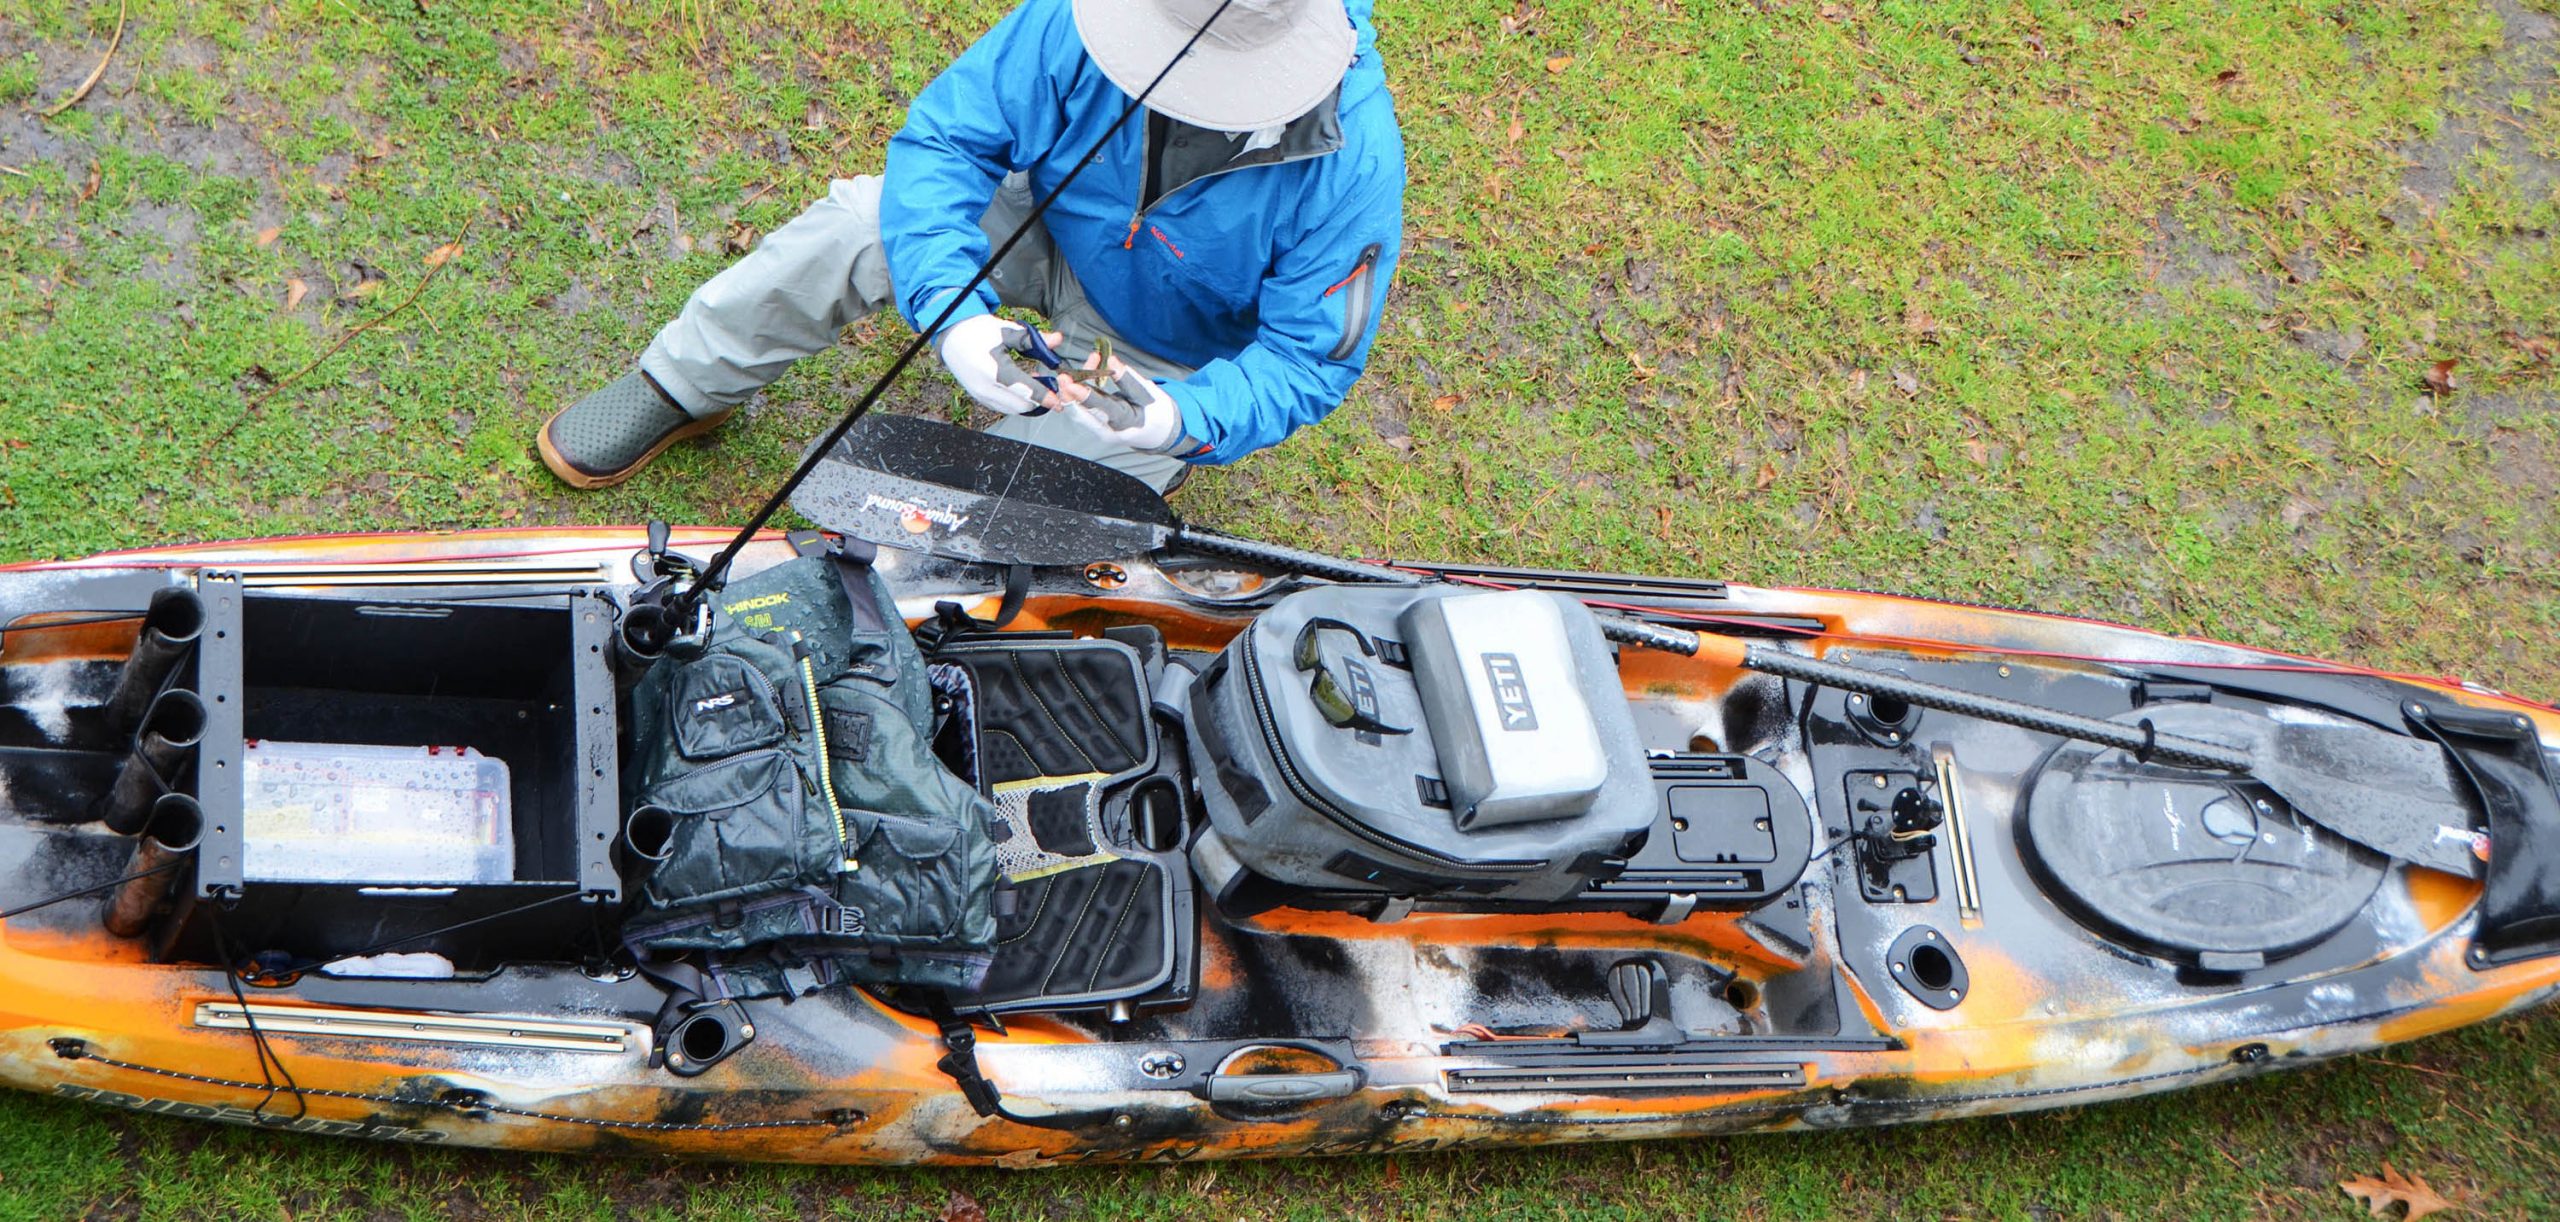
Credit: m.youtube.com
Introduction To Fishing Kayaks
Are you excited about building your own fishing kayak? This guide will help you get started. First, let’s explore the basics of fishing kayaks.
Benefits Of Fishing Kayaks
Fishing kayaks offer many advantages:
- Portability: Easy to transport and launch.
- Affordability: Generally cheaper than traditional boats.
- Access to Shallow Waters: Reach fishing spots that boats can’t.
- Eco-Friendly: Less impact on the environment.
- Exercise: Provides a good workout while fishing.
Types Of Fishing Kayaks
There are different types of fishing kayaks:
| Type | Description |
|---|---|
| Sit-On-Top Kayaks | Open deck design. Easy to get in and out. |
| Sit-Inside Kayaks | Enclosed design. Offers more protection from water. |
| Pedal Kayaks | Uses pedals for movement. Keeps hands free for fishing. |
| Motorized Kayaks | Equipped with a motor. Ideal for long distances. |
Each type has unique features. Choose the one that fits your needs.
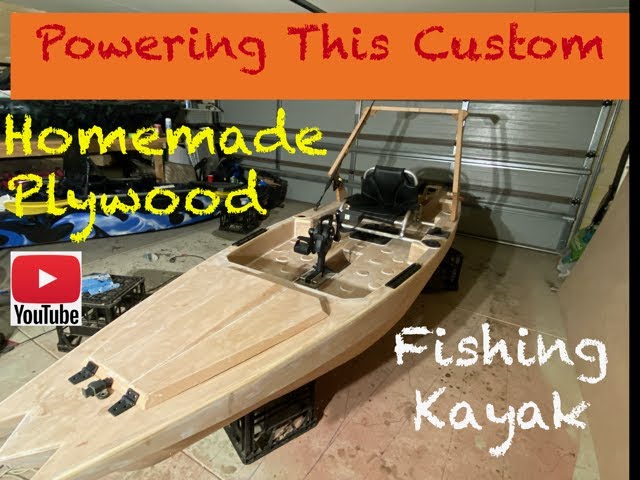
how to build a fishing kayak: Planning Your Diy Project
Building a fishing kayak is allows you to create a personalized vessel. Proper planning ensures success and safety. This section will guide you through the planning phase.
Choosing The Right Design
Choosing the right design is the first part to diy you fishing kayak. Your kayak’s design affects its performance and usability. Consider these factors:
- Water Type: For lakes, rivers, or oceans.
- Stability: More stability for fishing needs.
- Storage: Space for your fishing gear.
- Weight: Lighter kayaks are easier to transport.
Research various designs online. Look for plans that match your needs. You can find many free and paid designs. Choose one that fits your skill level.
Gathering Materials And Tools
Gathering the right materials and tools is essential. Below is a table of common materials and tools:
| Materials | Tools |
|---|---|
| Plywood | Jigsaw |
| Fiberglass Cloth | Sander |
| Epoxy Resin | Drill |
| Paint | Brushes |
Make a checklist of what you need. Visit your local hardware store or order online. Ensure you have everything before starting.
Building a fishing kayak is a step-by-step process. Each step requires careful planning. Follow these guidelines and enjoy your new DIY fishing kayak.
Building The Hull
Building the hull of your fishing kayak is second step. The hull is the main body of the kayak. It affects stability and performance. Let’s tolk into the steps for creating a strong and durable hull.
Cutting And Shaping
Start with a plywood sheet. Use a jigsaw to cut the basic shape. Follow the design plans closely. Sand the edges to smooth them out. This helps prevent splinters.
Next, shape the wood to form the hull. Use clamps to hold pieces in place. Apply wood glue and screws to secure the structure. Make sure everything is aligned properly.
Sealing And Waterproofing
Sealing the hull is protects against water damage. Apply a layer of marine epoxy. Cover all surfaces evenly. Allow it to dry completely.
Waterproofing ensures your kayak stays dry. Add a second coat of epoxy for extra protection. Check for any gaps or weak spots. Seal them thoroughly.
| Step | Materials | Tools |
|---|---|---|
| Cutting and Shaping | Plywood, Wood Glue, Screws | Jigsaw, Sandpaper, Clamps |
| Sealing and Waterproofing | Marine Epoxy | Brush, Protective Gear |
With these steps, your hull will be strong and waterproof. This foundation is vital for a reliable fishing kayak.
Installing The Deck
Installing the deck on your fishing kayak is third step. This section will guide you through deck layout options and securing the deck. Follow these steps for a sturdy and functional deck.
Deck Layout Options
First, decide on the layout for your deck. The layout depends on your fishing needs. Consider these options:
- Open Deck: Provides more space for gear.
- Compartmentalized Deck: Offers specific storage sections.
- Mixed Deck: Combines open and compartmentalized designs.
Choose the layout that best suits your fishing style. Think about where you will place your rods and gear.
Securing The Deck
After choosing the layout, secure the deck to the kayak. Follow these steps:
- Measure: Ensure your measurements are accurate.
- Cut: Use a jigsaw for precise cuts.
- Attach: Use screws and marine adhesive.
- Seal: Apply sealant to prevent water damage.
Use high-quality materials to ensure durability. Double-check all attachments to ensure they are secure. Proper sealing will protect your deck from water and wear.
Follow these steps to install a functional and reliable deck. Happy fishing!
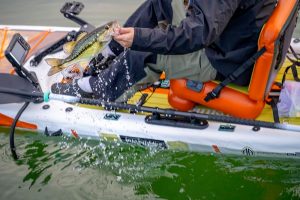
Outfitting The Kayak
Outfitting your fishing kayak can transform your paddling. It ensures you have everything you need for a successful trip. You can customize your kayak to suit your fishing style. This section will guide you through adding storage compartments and installing rod holders.
Adding Storage Compartments
Storage compartments provide space to store your gear. They keep your items secure and dry.
To add storage compartments, follow these steps:
- Choose the right location for your compartments.
- Measure the area to ensure a proper fit.
- Use a marker to outline the compartments.
- Cut the marked area using a saw or knife.
- Insert the storage compartments and secure them with screws.
Here’s a table summarizing the tools you need:
| Tool | Purpose |
|---|---|
| Marker | Outline compartments |
| Saw/Knife | Cut the marked area |
| Screws | Secure compartments |
Storage compartments are essential for organizing your fishing gear. They keep your kayak clutter-free.
Installing Rod Holders
Rod holders help to for you a hands-free fishing experience. They keep your fishing rods secure and within reach.
To install rod holders, follow these steps:
- Select the spot for your rod holders.
- Ensure the spot is easily accessible.
- Mark the location using a marker.
- Drill holes where you marked.
- Place the rod holders and screw them in place.
Consider these tips for optimal placement:
- Place rod holders within arm’s reach.
- Avoid areas that may interfere with paddling.
- Ensure they are secure to handle the weight of the rods.
Installing a Motor Mount on Your Kayak
Adding a motor mount to your kayak can change your paddling life. It lets you fish longer and travel farther with ease. Start by getting the right tools and materials, a motor mount kit, a drill, screws, and an electric motor. Make sure your kayak can handle the motor size to avoid problems.
Next, pick the best spot for the motor mount on your kayak. The back is usually best for balance, but think about your kayak and what you like. Mark where the motor will go, but don’t harm your kayak’s structure. Always check your kayak’s manual for the best mounting tips.
After picking the spot, start the installation. Drill holes for the screws carefully to keep your kayak strong. Follow the kit’s instructions closely. Make sure the motor is stable and ready for use.
Finally, test your kayak on the water. Check that the motor works well and the kayak feels balanced. This test helps you find any problems before you go fishing. By following these steps, you can make your kayak better for fishing.
Credit: kayakanglermag.com
Add more Features to Comfort Your Fishing Kayak
Building a fishing kayak is an exciting DIY project. Adding comfort features is essential for a pleasant fishing experience. Focus on the seat, footrests, and other comfort elements. This will make your time on the water more enjoyable.
Choosing A Seat
A comfortable seat is most important for long fishing trips. You can choose between cushioned seats and adjustable seats.
- Cushioned seats provide extra padding. They reduce pressure on your back.
- Adjustable seats allow you to change the sitting position. This helps prevent fatigue.
Ensure the seat is water-resistant. It should also be easy to clean. Some seats come with built-in storage. This can be handy for keeping small items.
Installing Footrests
Footrests give you better control of your kayak. They also help you stay comfortable.
Here are steps to install footrests:
- Choose adjustable footrests. These allow different leg lengths.
- Mark the positions for the footrests inside the kayak.
- Drill holes at the marked positions.
- Attach the footrests using bolts and nuts.
- Test the footrests to ensure they are secure.
Footrests can be made of plastic or metal. Plastic footrests are lighter and easier to install. Metal footrests are more durable.
Adding all comfort features will enhance your fishing kayak. Enjoy your time on the water with a well-equipped kayak.
Safety Considerations
Building a fishing kayak can be exciting. Safety should always come first. Proper safety measures ensure you enjoy your time on the water. Here are key safety considerations to keep in mind.
Adding Reflective Tape
Reflective tape makes your kayak more visible. It helps others see you in low light. This is crucial at dawn or dusk. Reflective tape comes in many colors. Choose bright and reflective colors. Place the tape on the sides and ends of the kayak. This ensures visibility from all angles.
| Area | Type of Tape | Color |
|---|---|---|
| Sides | Reflective | Bright Yellow |
| Ends | Reflective | Bright Orange |
Installing Safety Lines
Safety lines help you hold on to your kayak. They prevent you from drifting away in the water. Use strong ropes for safety lines. Nylon ropes are a good choice. Attach them securely to the kayak. Place safety lines within easy reach. This ensures you can grab them quickly if needed.
- Use strong, durable ropes.
- Attach securely to the kayak.
- Place within easy reach.
Final Touches And Testing
After assembling your fishing kayak, it’s time for the final touches. These steps ensure your kayak is ready for the water. This section covers painting and finishing, and water testing your kayak.
Painting And Finishing
Your kayak needs a protective finish. Start by sanding the surface. Use fine-grit sandpaper for a smooth finish. Next, apply a primer to the kayak. This helps the paint stick better.
Choose a durable, waterproof paint. Apply it evenly using a spray gun or brush. Allow the paint to dry fully. Then, add a clear coat for extra protection. This coat makes your kayak shine and shields it from the elements.
Ensure all hardware is secure. Check the seats, rod holders, and other accessories. Tighten any loose screws and bolts.
Water Testing Your Kayak
Testing your kayak in water is crucial. Find a calm body of water for the test. Ensure you have all safety gear, including a life jacket.
Place the kayak in the water gently. Get in and paddle around slowly. Check for any leaks. If water seeps in, mark the areas. Once you identify leaks, bring the kayak out and seal those spots.
Test the stability and balance of the kayak. Ensure it handles well with all your gear. Adjust the weight distribution if needed. Your kayak should feel stable and comfortable.
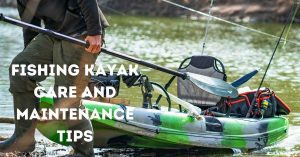
Maintenance Tips
Maintaining your fishing kayak ensures its longevity and performance. Regular upkeep keeps your kayak safe and ready for your next adventure. Follow these maintenance tips to keep your fishing kayak in top shape.
Regular Inspections
Inspect your kayak after each use. Look for cracks, dents, or signs of wear. Check the hull for any damage. A cracked hull can lead to leaks.
Examine the seats and storage areas. Ensure they are clean and free from debris. Remove any mud, sand, or water from these areas.
Check the fishing rod holders and other attachments. Make sure they are secure and not loose. Tighten any loose screws or bolts.
Proper Storage
Store your kayak in a cool, dry place. Avoid direct sunlight as it can damage the kayak’s material. UV rays can cause the kayak to fade and weaken.
Use a kayak cover for added protection. A cover keeps dust, dirt, and pests away. It also shields the kayak from harsh weather conditions.
Store the kayak on its side or upside down. This prevents warping and maintains the kayak’s shape. Use padded stands or racks for support.
Do not store heavy items on top of the kayak. This can cause dents or deformities.
| Maintenance Task | Frequency |
|---|---|
| Inspect for Damage | After each use |
| Clean Seats and Storage | After each use |
| Check Attachments | Monthly |
| Store Properly | Always |
- Inspect regularly to catch issues early.
- Store correctly to prevent damage.
- Use covers for added protection.
Frequently Asked Questions
What Materials Do I Need For A Fishing Kayak?
You need marine-grade plywood, fiberglass cloth, resin, and kayak accessories like rod holders and storage hatches.
How Do I Customize My Fishing Kayak?
Install rod holders, fish finders, and storage compartments. Add comfortable seating and safety gear for better fishing experience.
How Long Does It Take To Build A Fishing Kayak?
It typically takes around two to four weeks, depending on your skill level and the complexity of the design.
Conclusion
Crafting your fishing kayak can be an enjoyable project. It offers customization, saves money, and enhances your fishing experience. Follow the steps carefully to ensure safety and functionality. Start your kayak-building adventure today and enjoy the rewards on the water.
Happy fishing and smooth sailing!